
Fancy taking a look at the Netflix catalog of neighboring countries? Consider installing a VPN. So if that interests you, that is exactly what we are going to suggest you do in this article, using WireGuard.

I - Installation
First of all, you will have to download the software from: https://www.wireguard.com/install/
WireGuard for Windows runs on Windows 7, 8, 8.1, 10, 2012, 2016 and 2019 and is available in 64-bit and 32-bit versions.
Note: WireGuard is also available on all the other platforms (Apple, Android, Linux, Mac OS X).
II - Importing the tunnels
We are now going to configure your tunnel. To obtain the ".conf" files needed to add the tunnels, you will have to go to this link:
GERMANY: https://my.awoui.fr/index.php/s/qLZjcRHy9NtS7NZ
USA: https://my.awoui.fr/index.php/s/7Kmcerss2PzR8Ej
Singapore: https://my.awoui.fr/index.php/s/a4wREaQsd5iiXNf
If you use the files we provide, you will only need the first file, that is to say "peer100.conf."
Download it, and keep it at hand.
Then, in the software interface, click:
Import tunnel → Import tunnel(s) from file
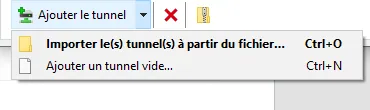
Import the "peer100.conf" file and you should see it in your tunnels on the left of the interface.
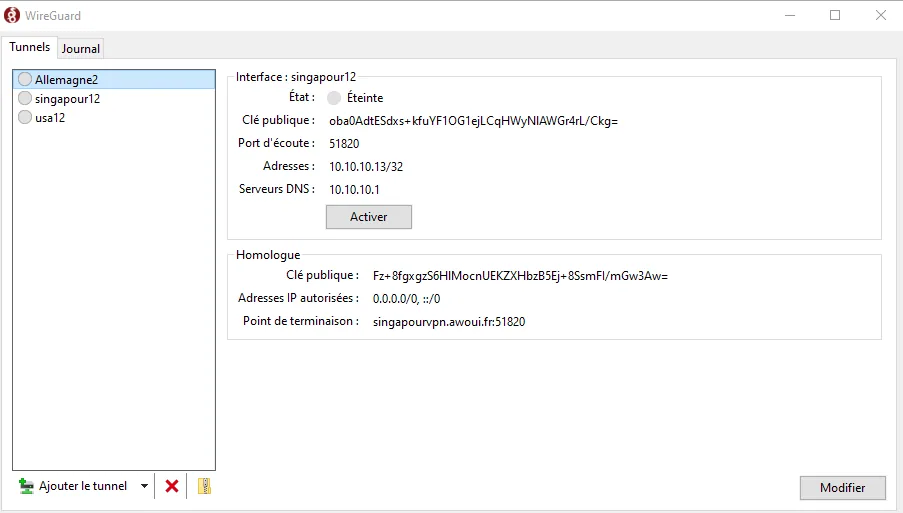
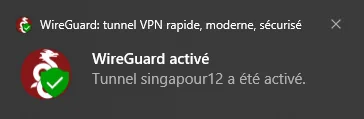
Now all you have to do is click the "Activate" button and you will get a notification telling you that you are connected (see the picture below).
But now, how can you tell whether it is working or not?
We suggest going to this site: https://ipcost.com/fr
That is all for now, but come back soon for more new features.