PGP (Pretty Good Privacy) is a security protocol that makes it possible to encrypt exchanges by encrypting sensitive data or files. This kind of protocol can therefore be useful in cases such as confidential email exchanges, for example.
Method 1 PGP encryption with Mailvelope for Gmail
1. Install the Mailvelope extension
Depending on what you use, install the extension on Chrome, Firefox, etc.
2. Add the public key to your key library
You will notice that this time, if you open the file with the public key, the Mailvelope logo will appear.
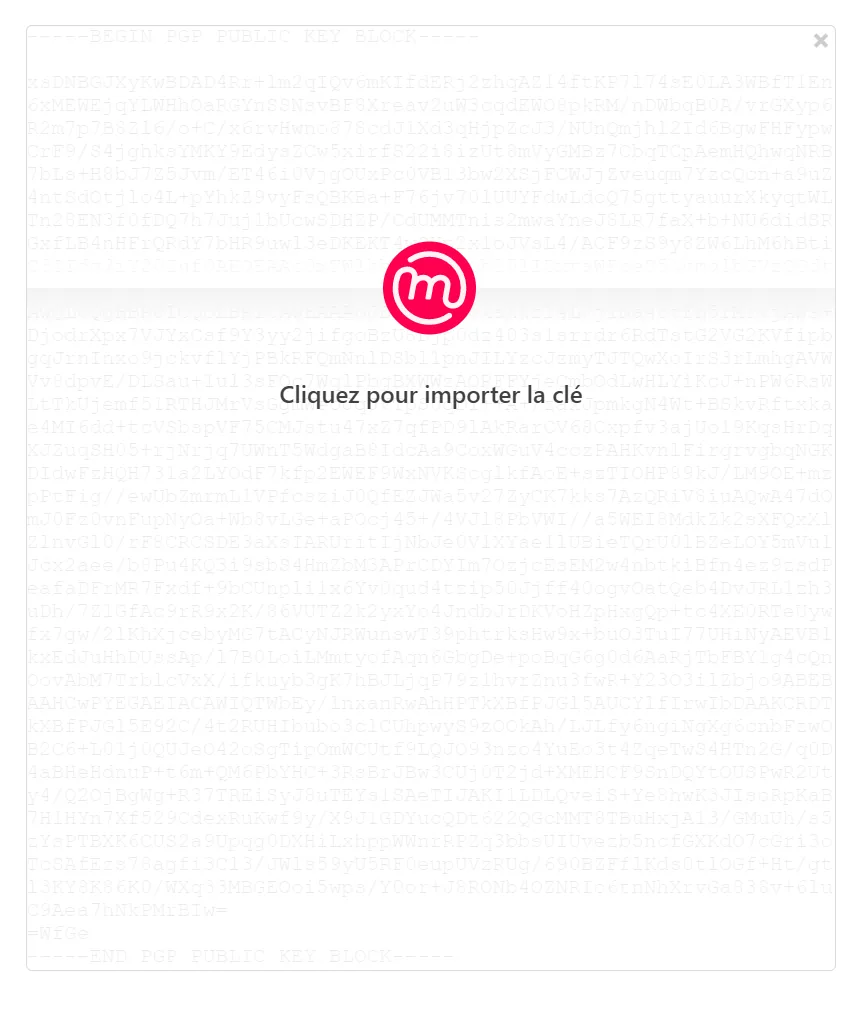
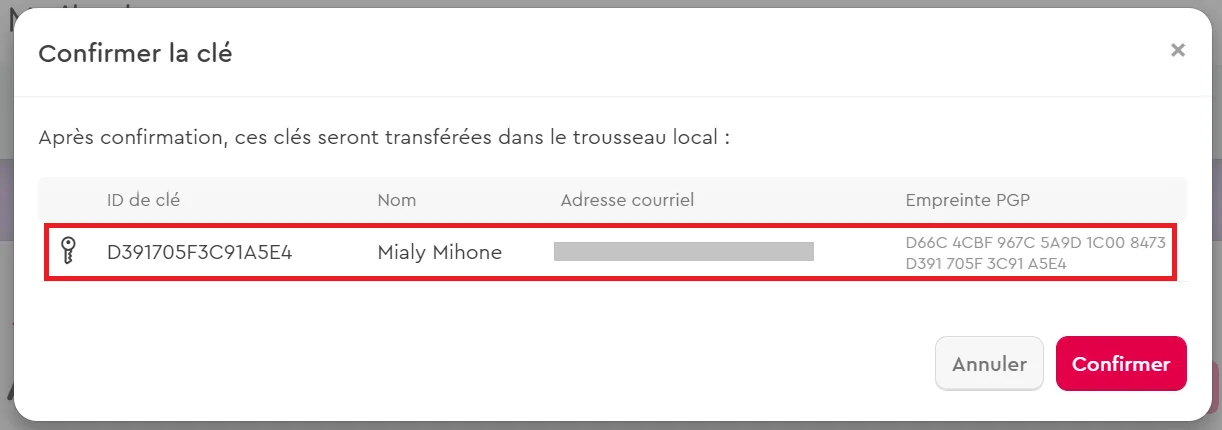
Click to import the key; you will reach the recipient's PGP key, then confirm.
Step 6: Receive a public key and send an encrypted email
1. Create your own key on Mailvelope
Press "+ Generate" and fill in the various fields.
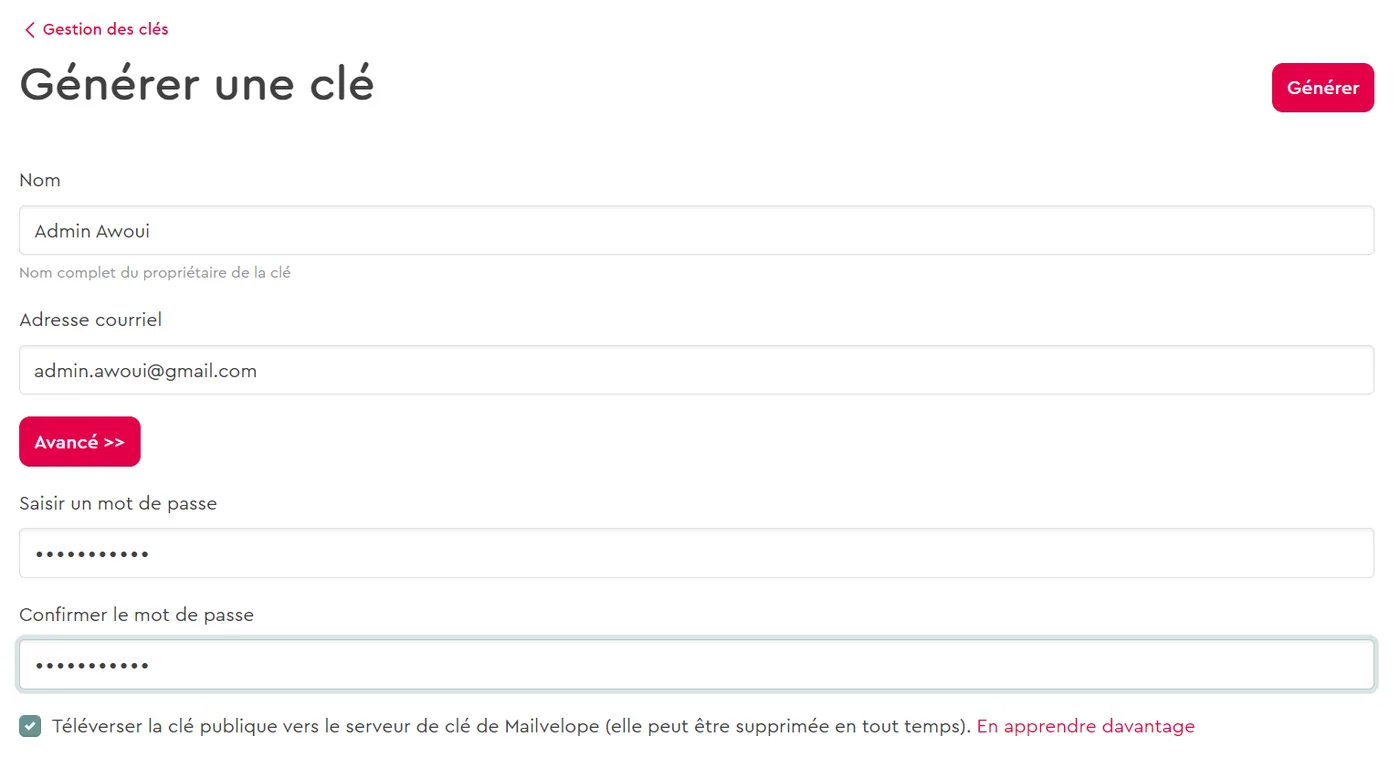
2. Send an encrypted email
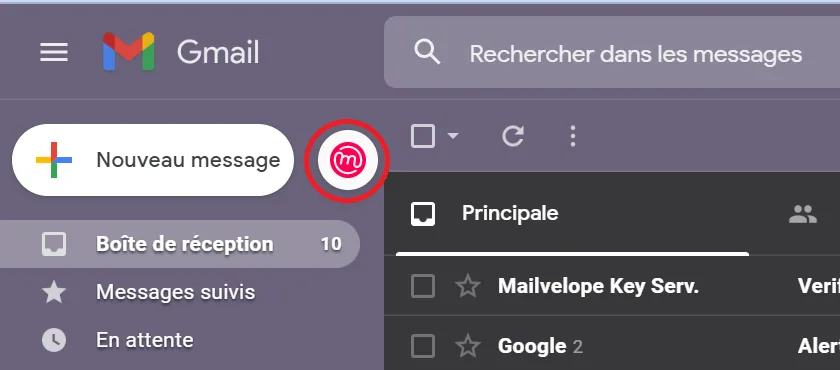
Press the Mailvelope logo in Gmail to write a new email.
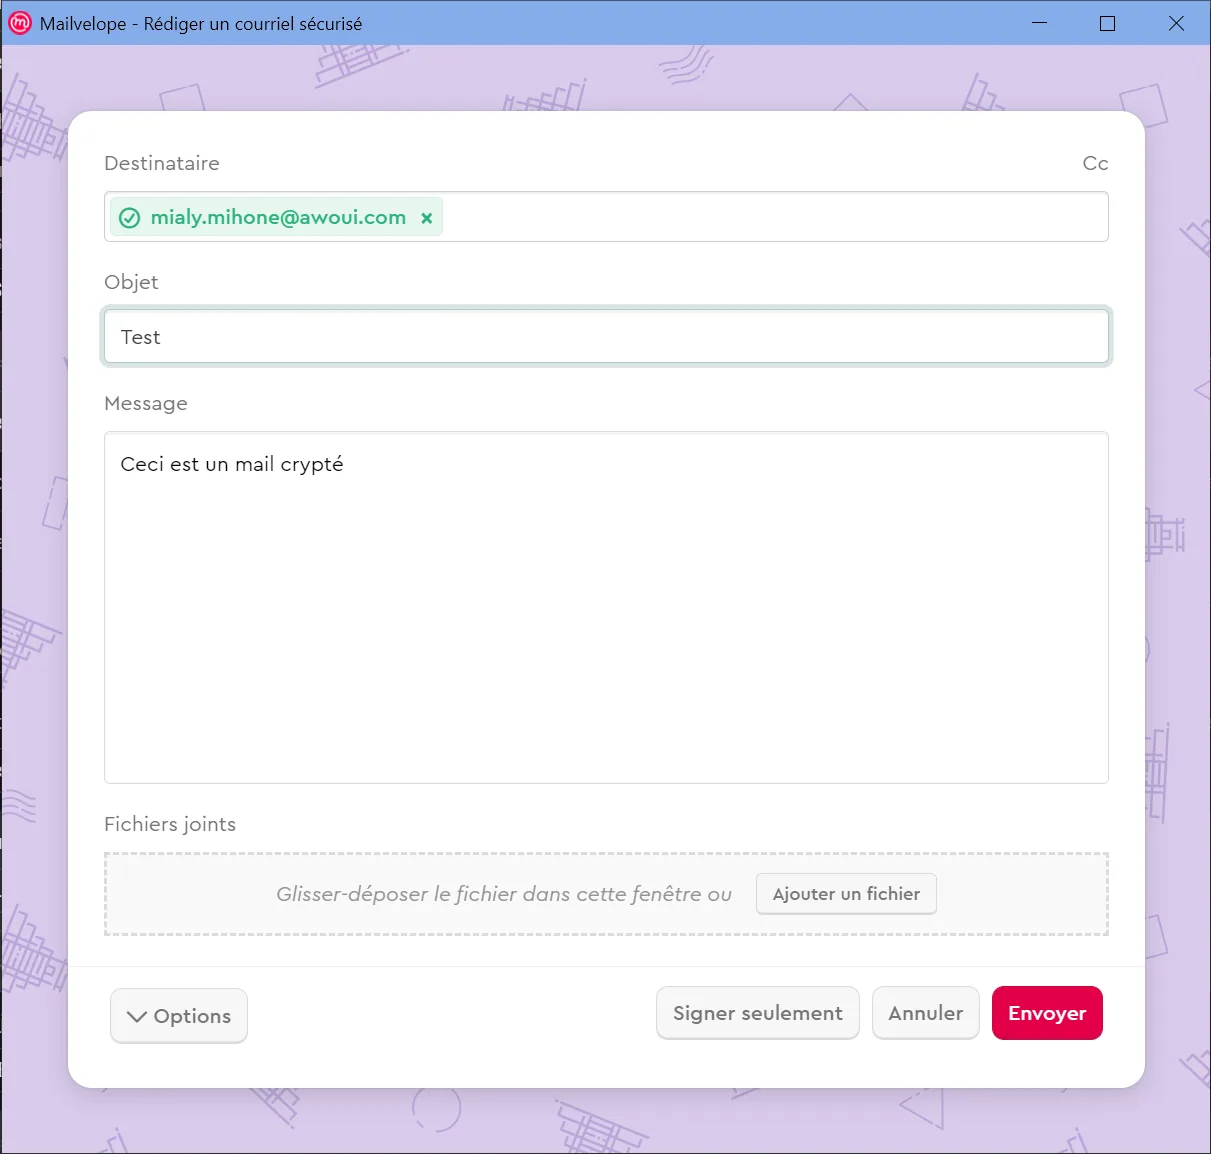
Choose the recipient among the keys created and send the email.
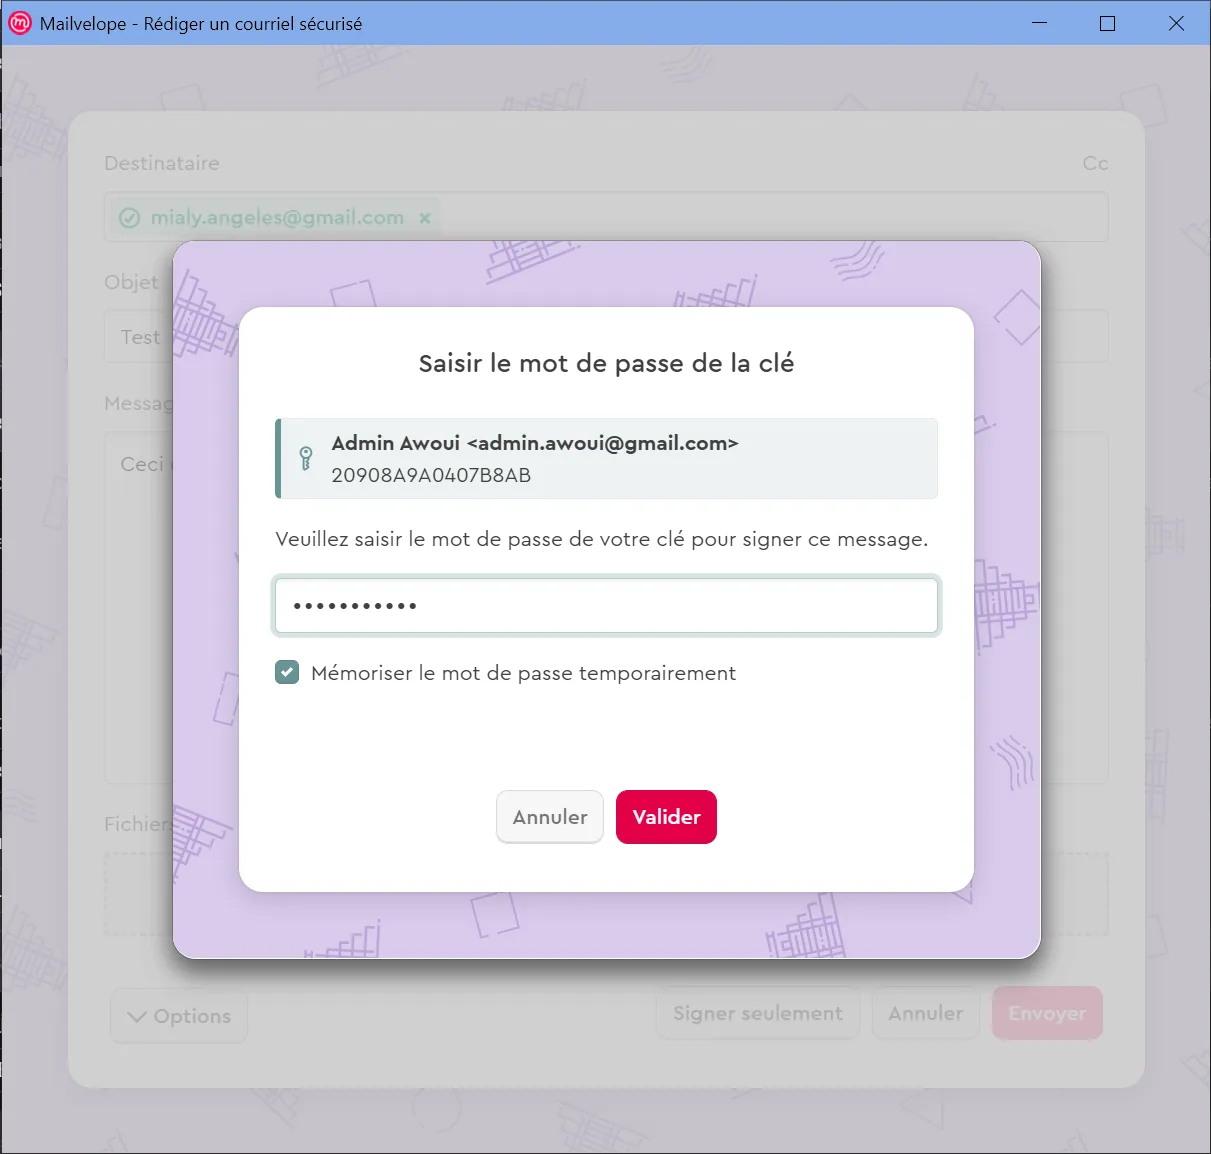
Enter the password of the key to send the email.
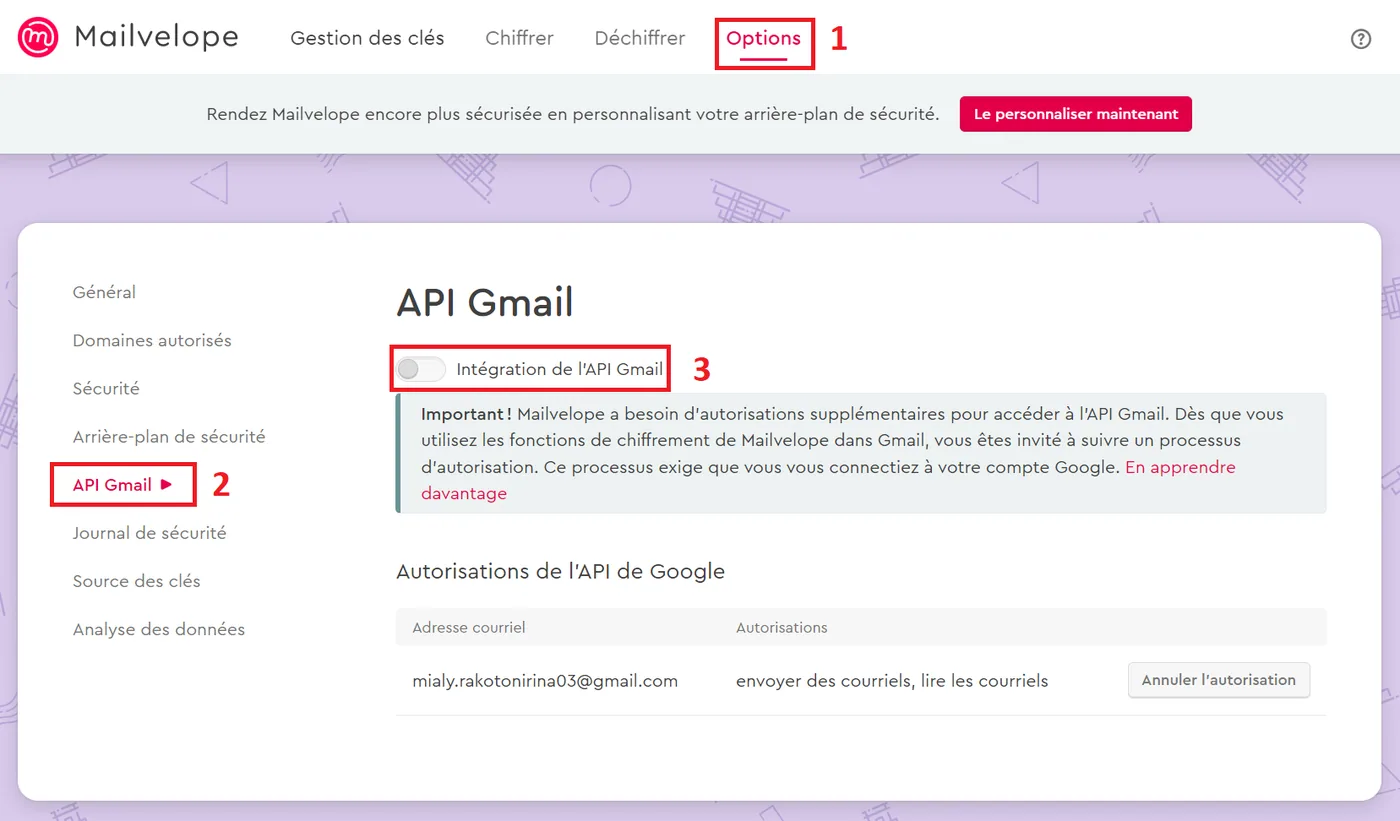
If you run into a problem with the Gmail API permissions, go to Mailvelope to enable the Gmail API integration:
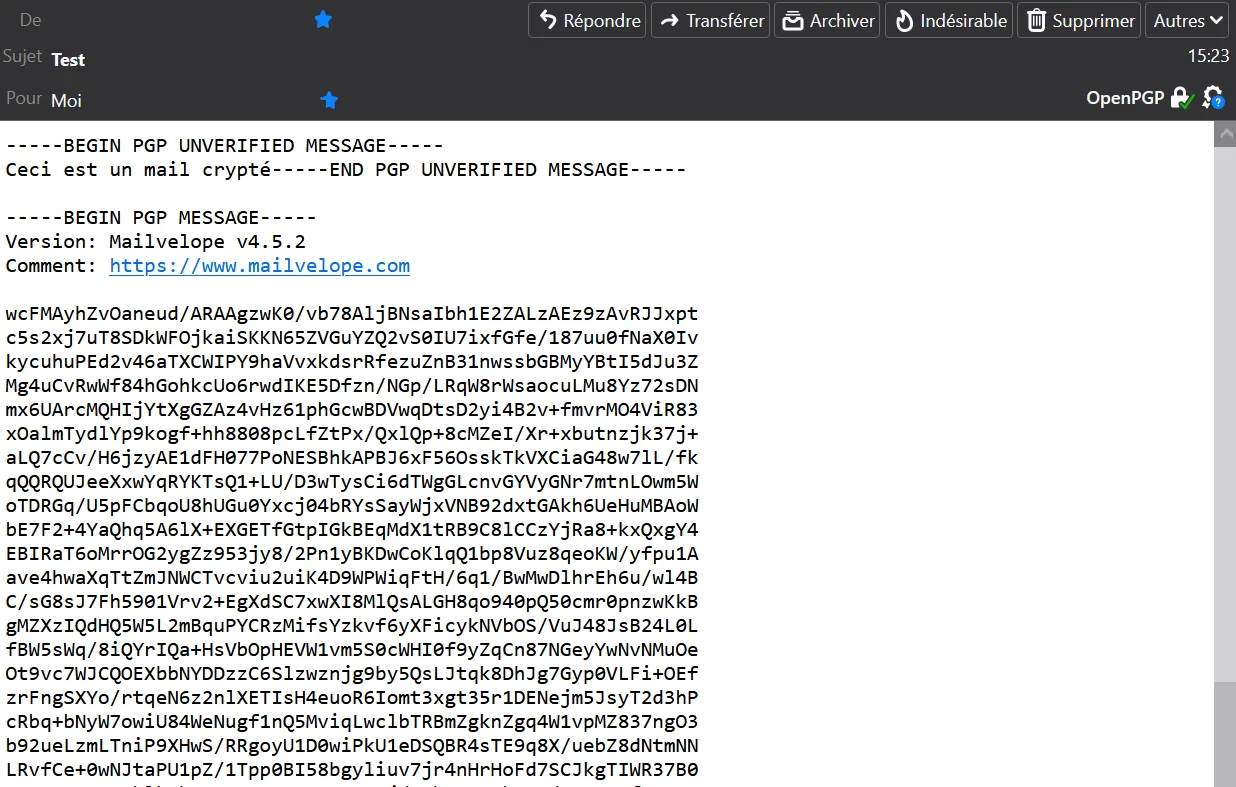
Here is what the recipient should receive:
Method 1: PGP encryption with Thunderbird
This software will allow us to manage our emails and will make it easier for us to set up the PGP protocol.
1. Download Thunderbird Find the software here.
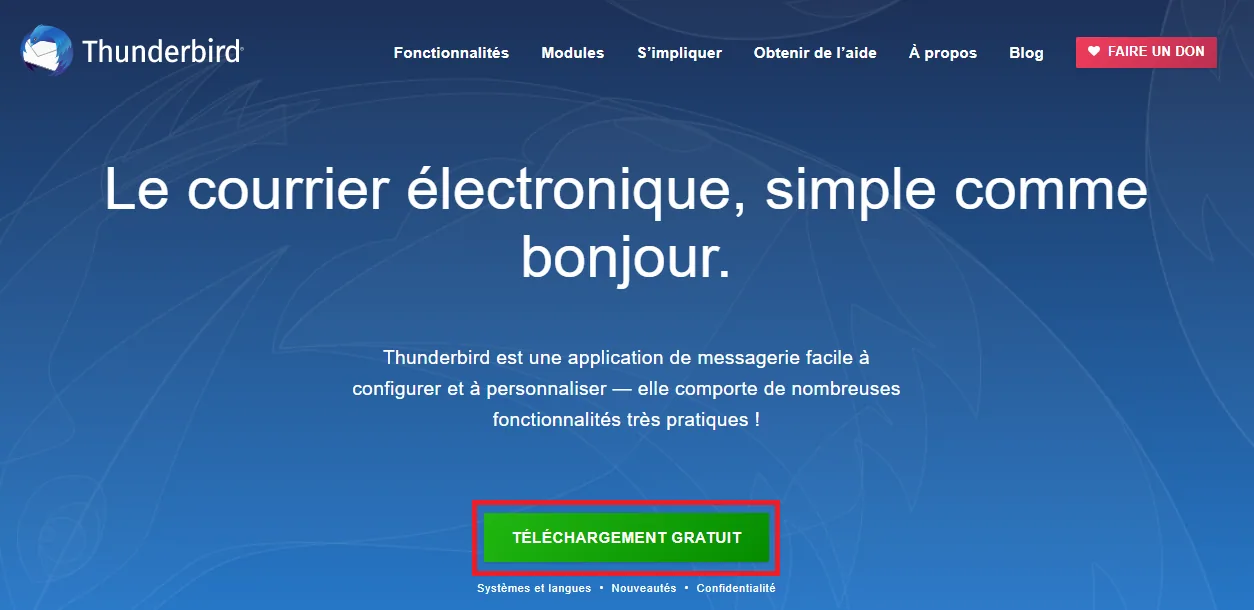
2. Start the installation
Choose the "Standard" installation type
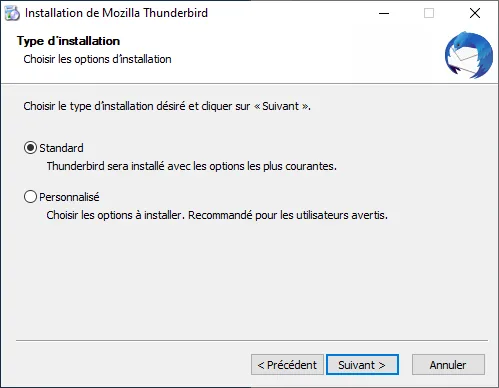
Then click on "Install"
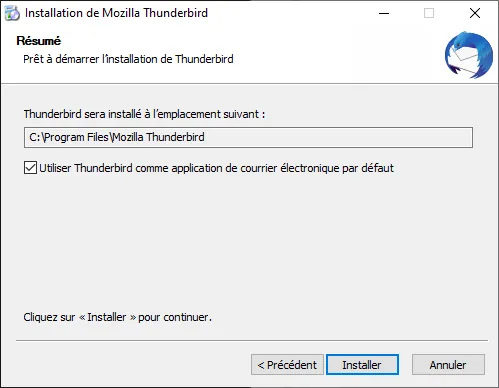
Step 2: Configure Thunderbird
1. Configure an already existing email address
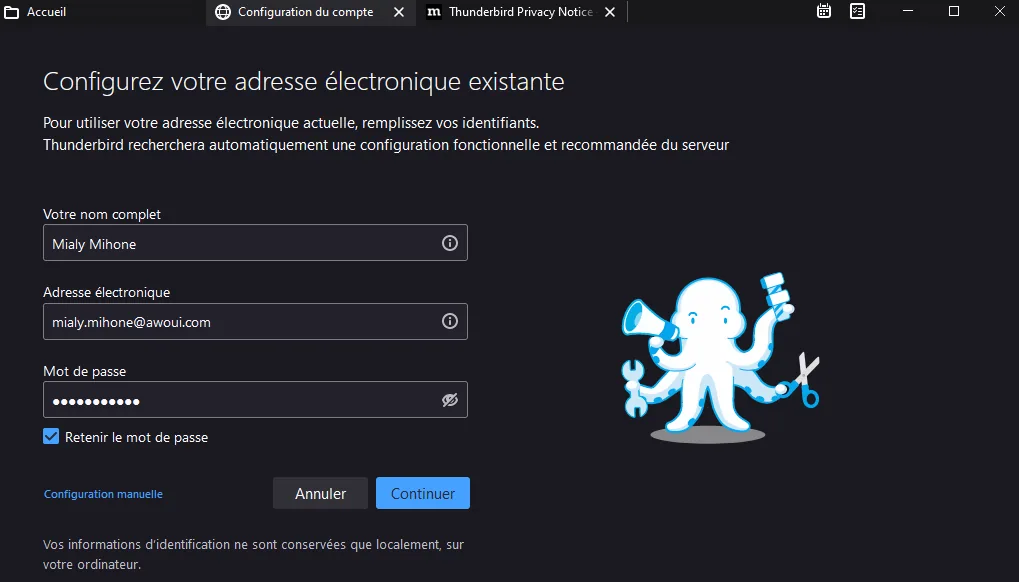
2. IMAP configuration
Choose the IMAP option, then press "Done".
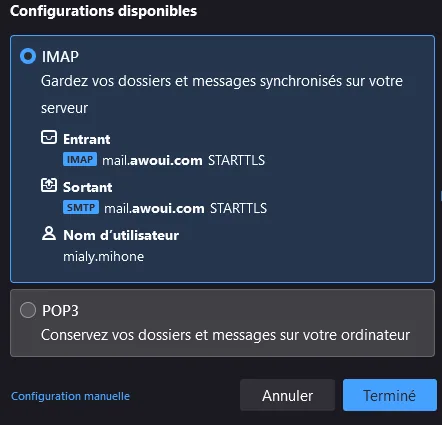
3. Finalize the configuration
Click on "Finish".
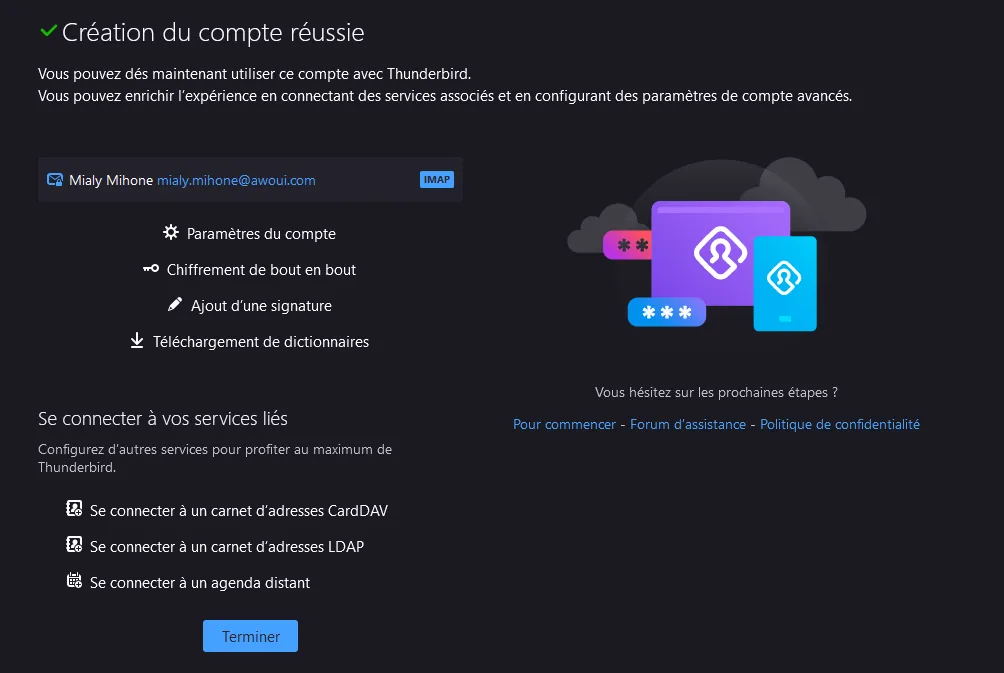
Step 3: Configure OpenPGP on Thunderbird and create a key
1. Set up a personal key pair
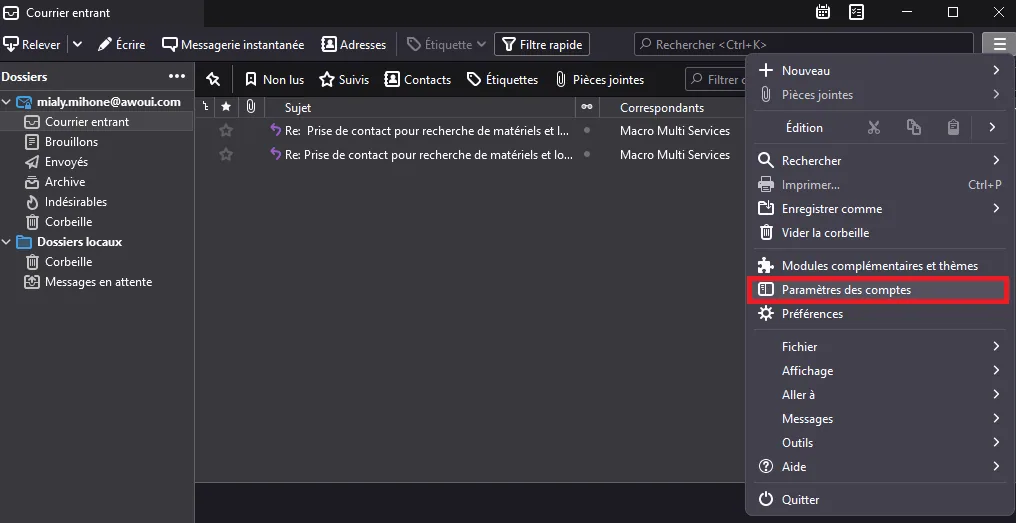
Go to the "Account Settings"
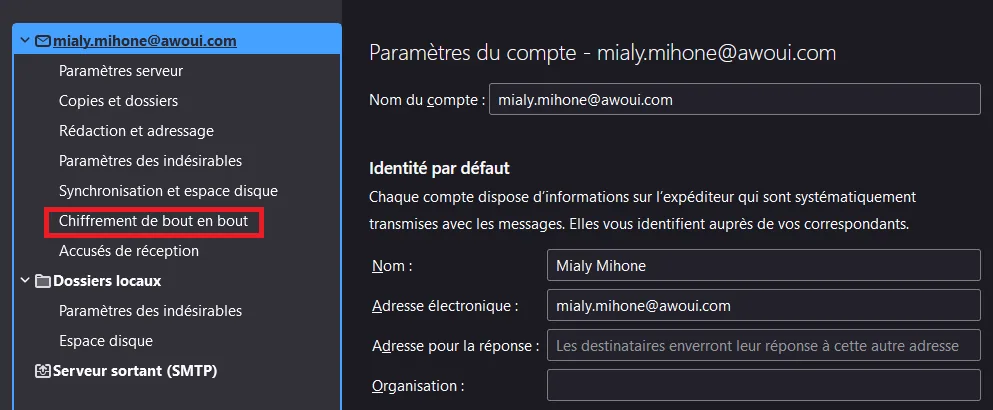
Then go to "End-to-end encryption"
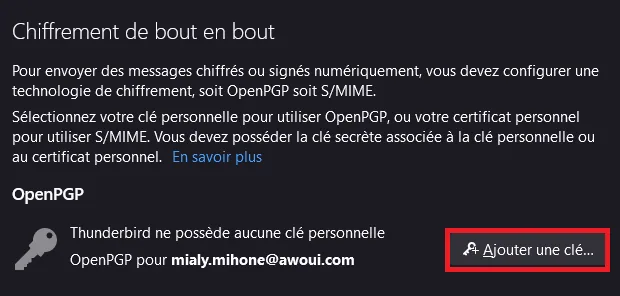
Create a new key
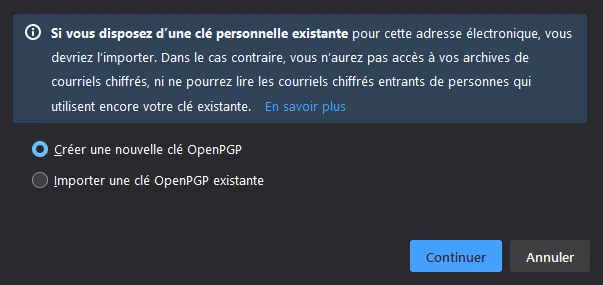
- If you already have a personal OpenPGP key pair from another piece of software: check the option "Import an existing PGP key"
- Otherwise, check the option "Create a new OpenPGP key"
Finish configuring your key according to your preferences
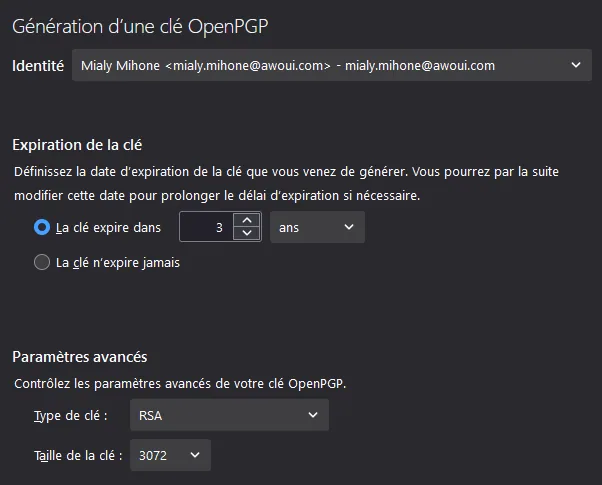
2. Set the key
Once the key is created, still in the account settings, set the one you want to actively use for your email account.
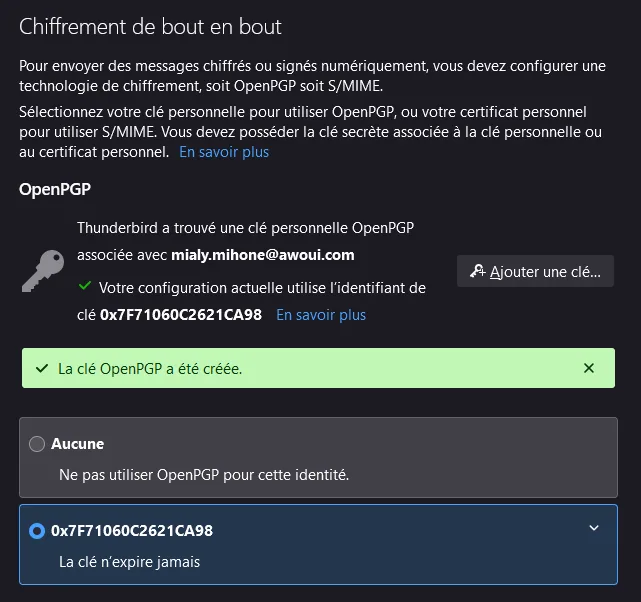
There you go: once your keys are created, you are now ready to set up a secure email exchange through the use of a PGP protocol with OpenPGP.
Step 4: Send your public key
1. Go to the security settings
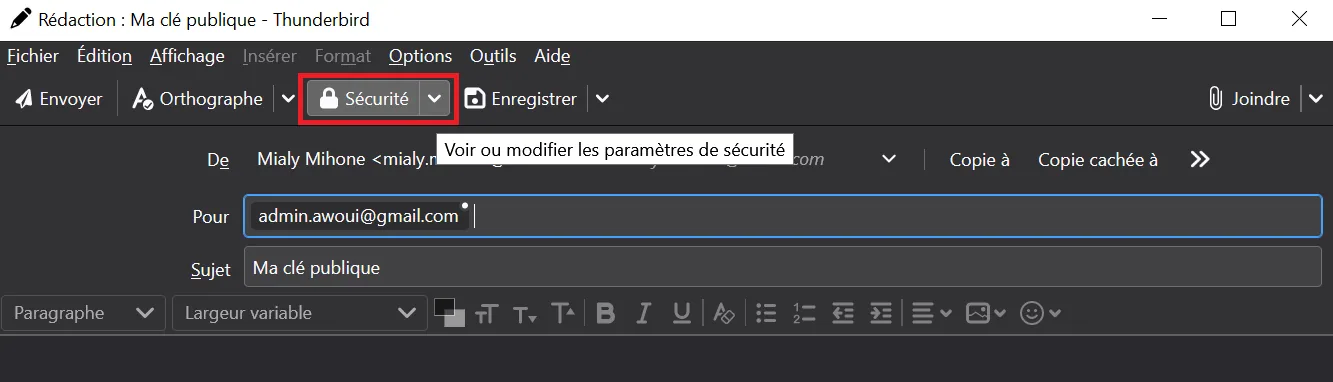
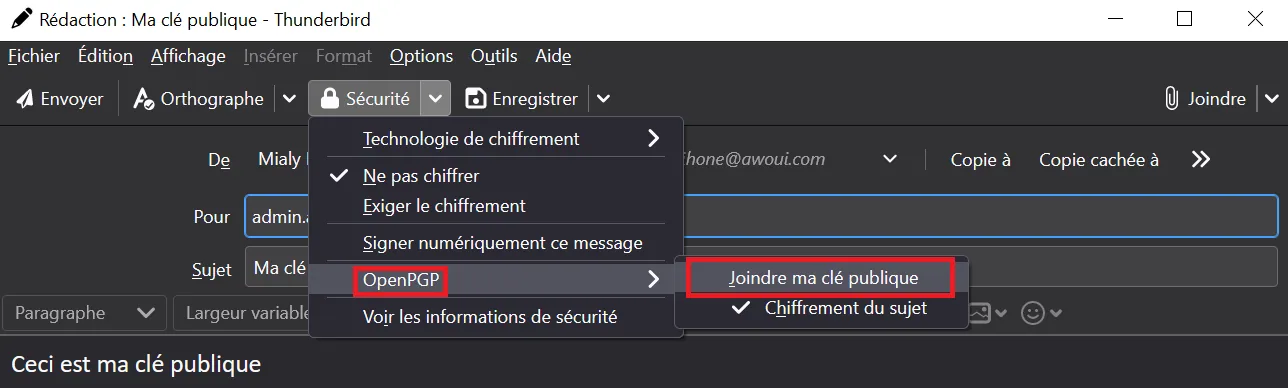
2. Go to the OpenPGP section, then check "Attach my public key" and send the email
Here is what your recipient will receive

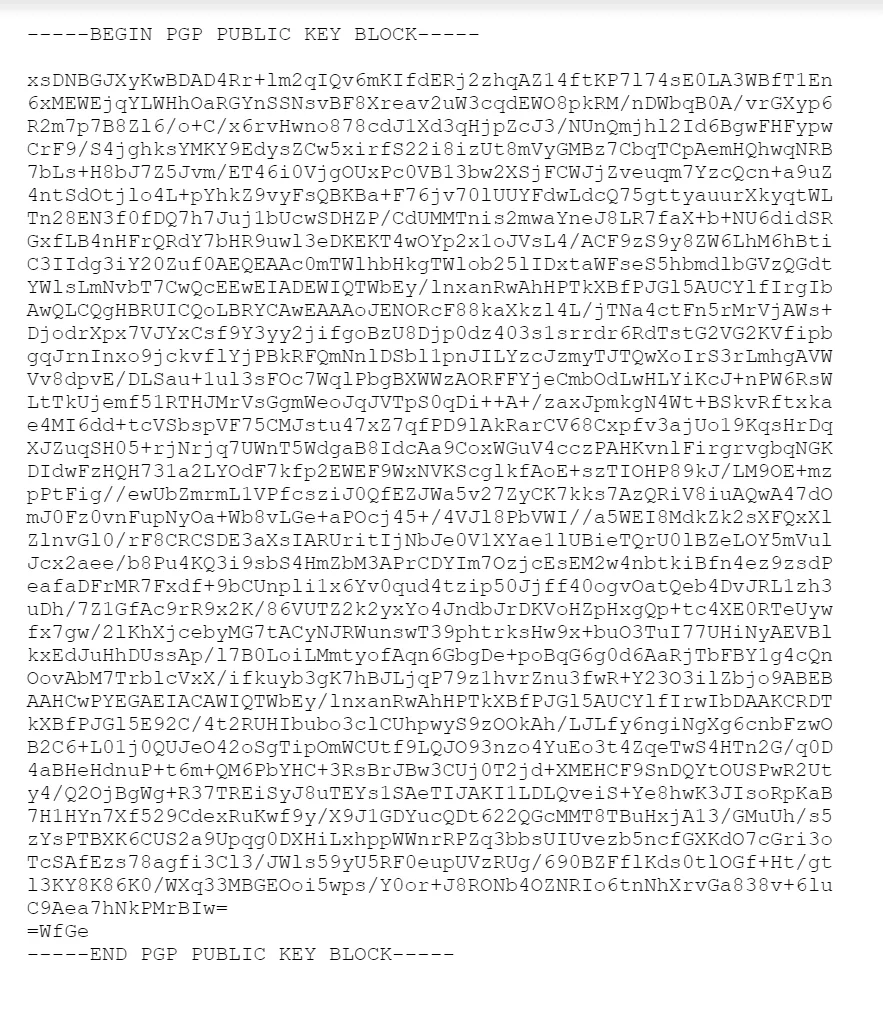
They will then have access to your public key by opening the file as shown below:
BONUS:
1) Export your secret key from Thunderbird
Go to the "Account Settings", then to "End-to-end encryption".
Expand the key information in order to save your secret key to a file.
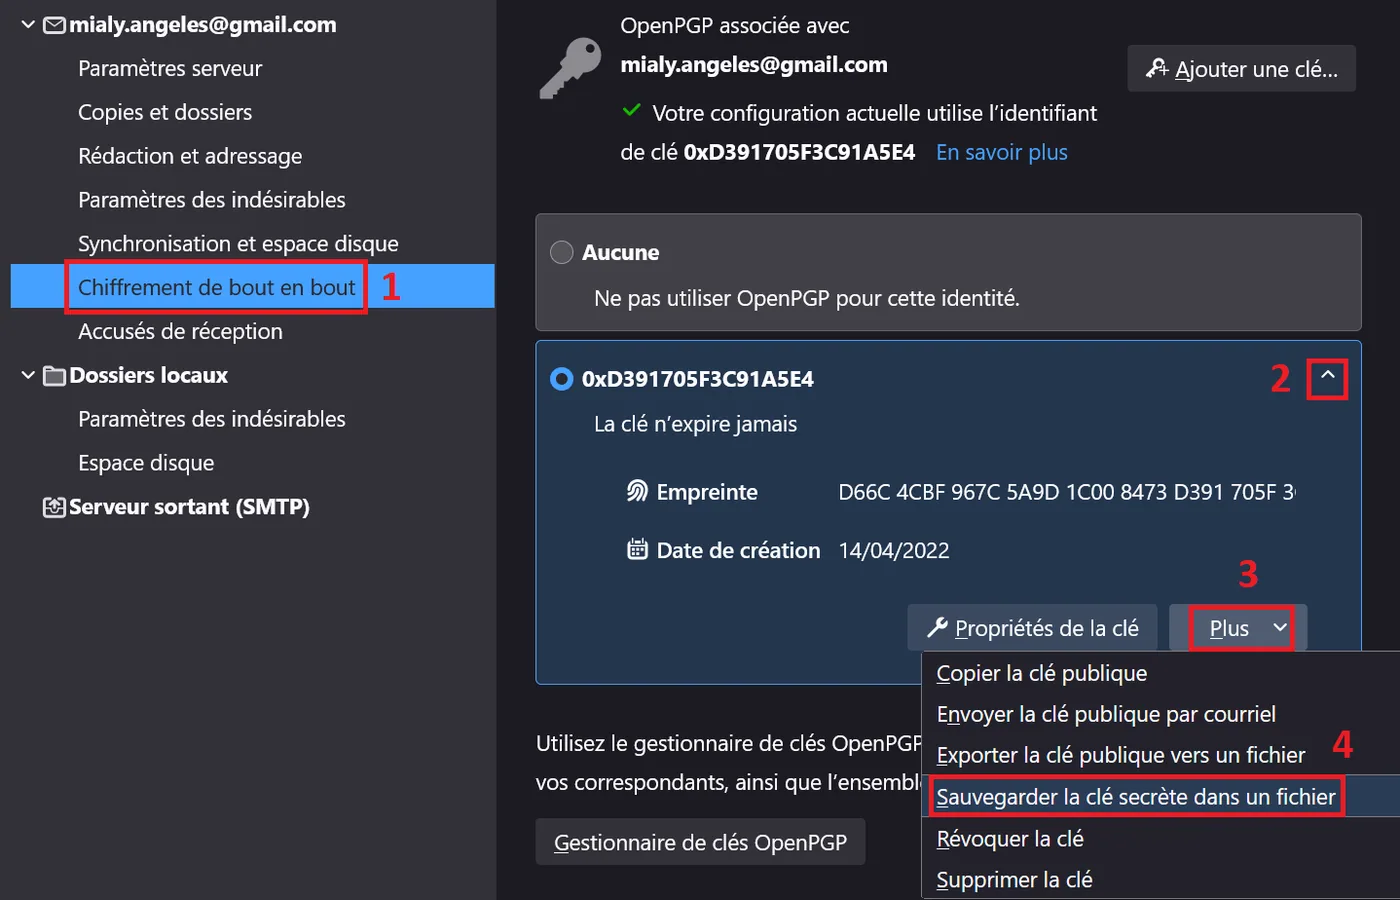
(the email used in the example was changed here for the purpose of the illustration)
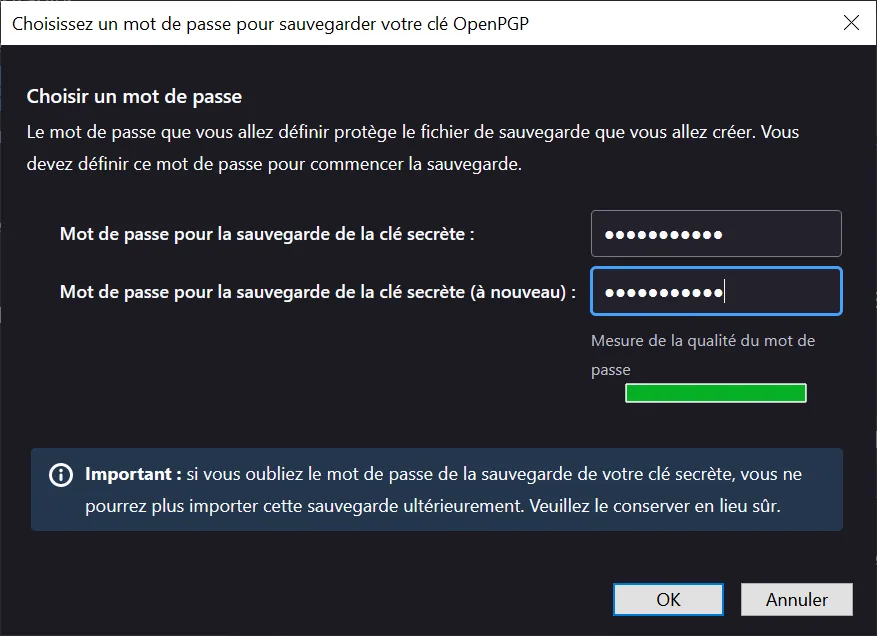
Choose a password (remember it carefully) and click "OK" to start the export.
2) Import an external key into Mailvelope
Now, go back to Mailvelope and import your key
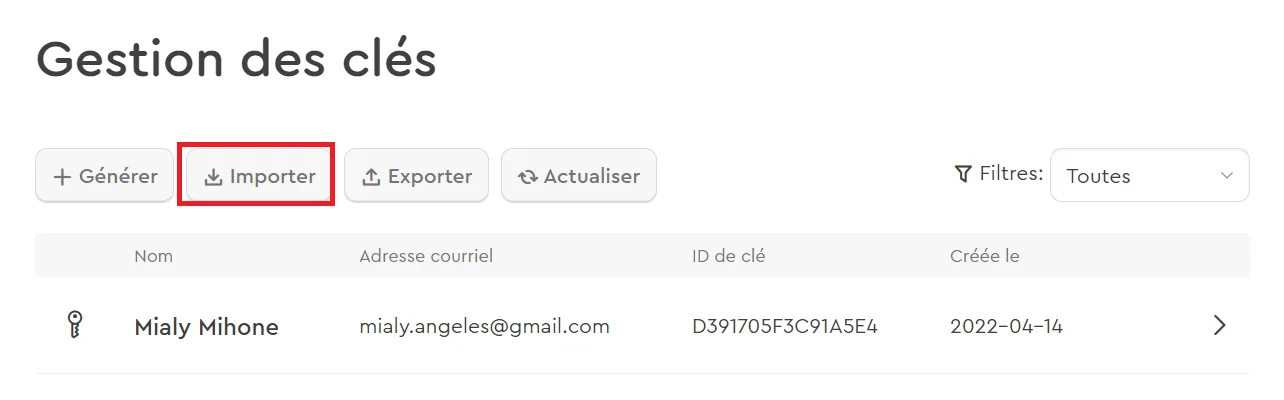
By dragging the file and clicking "Import keys"
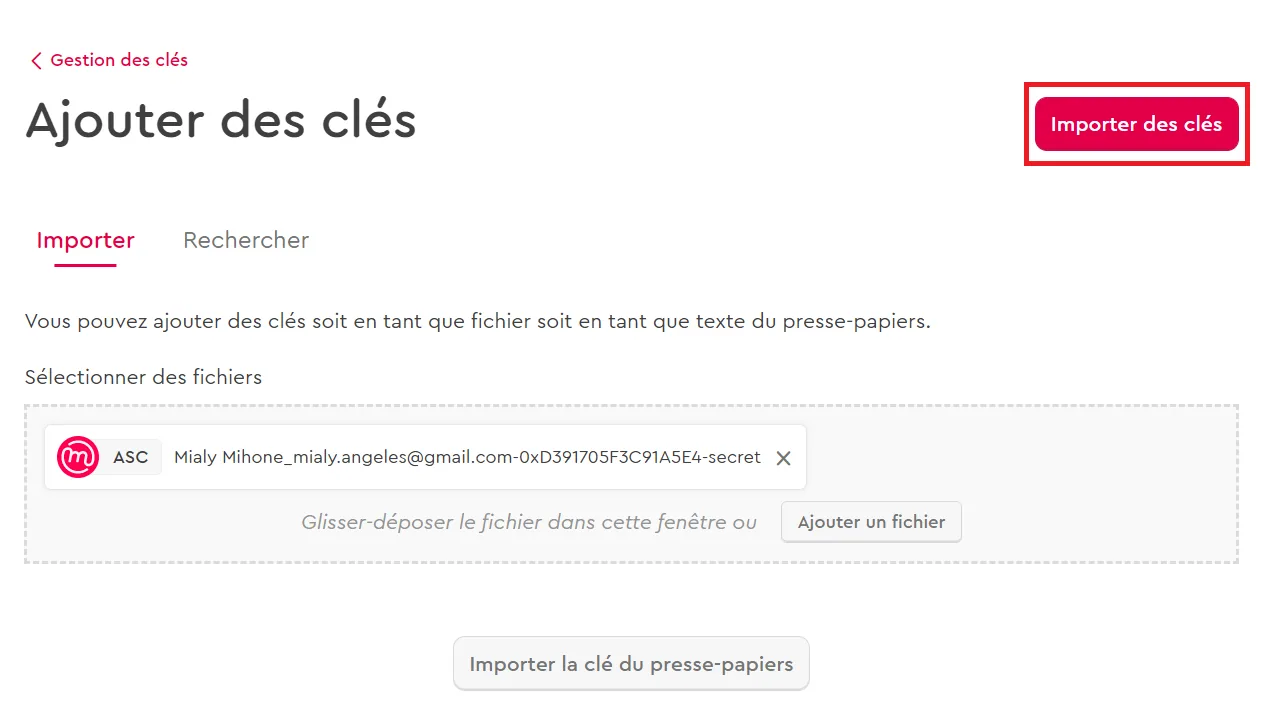
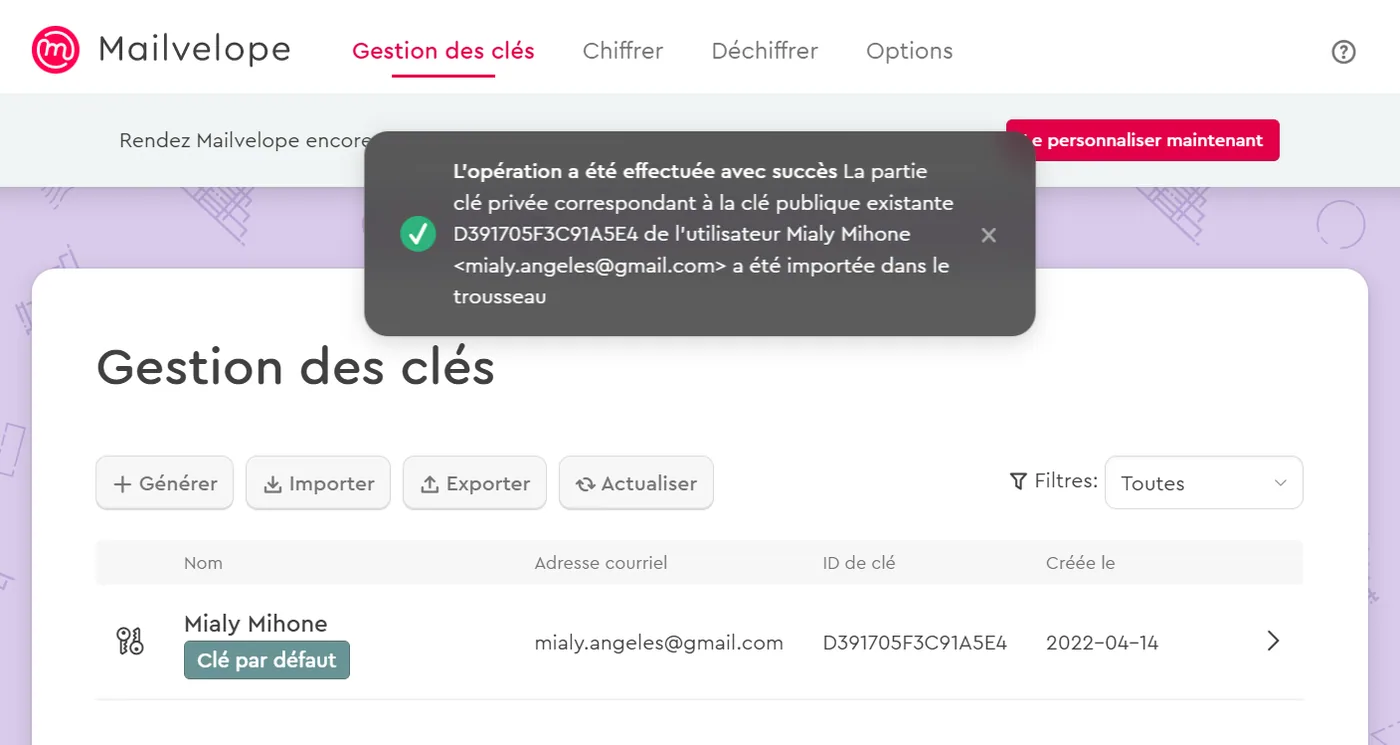
There you go, you have managed to import your secret key.